Tech March 23, 2025
Introduction
Maintaining an air compressor cooler is essential for ensuring the efficient operation of your air compressor. This article provides a detailed step-by-step guide on how to safely remove, inspect, clean, and reinstall an air compressor cooler. Following these steps will help you avoid damage and ensure the longevity of your equipment.
Safety Precautions
Before starting the removal process, ensure you take the following safety precautions:
- Wear appropriate personal protective equipment (PPE), including safety glasses, gloves, and earplugs.
- Ensure that the air compressor is turned off and the power supply is isolated.
- Allow the air compressor to cool down completely before proceeding.
Preparation
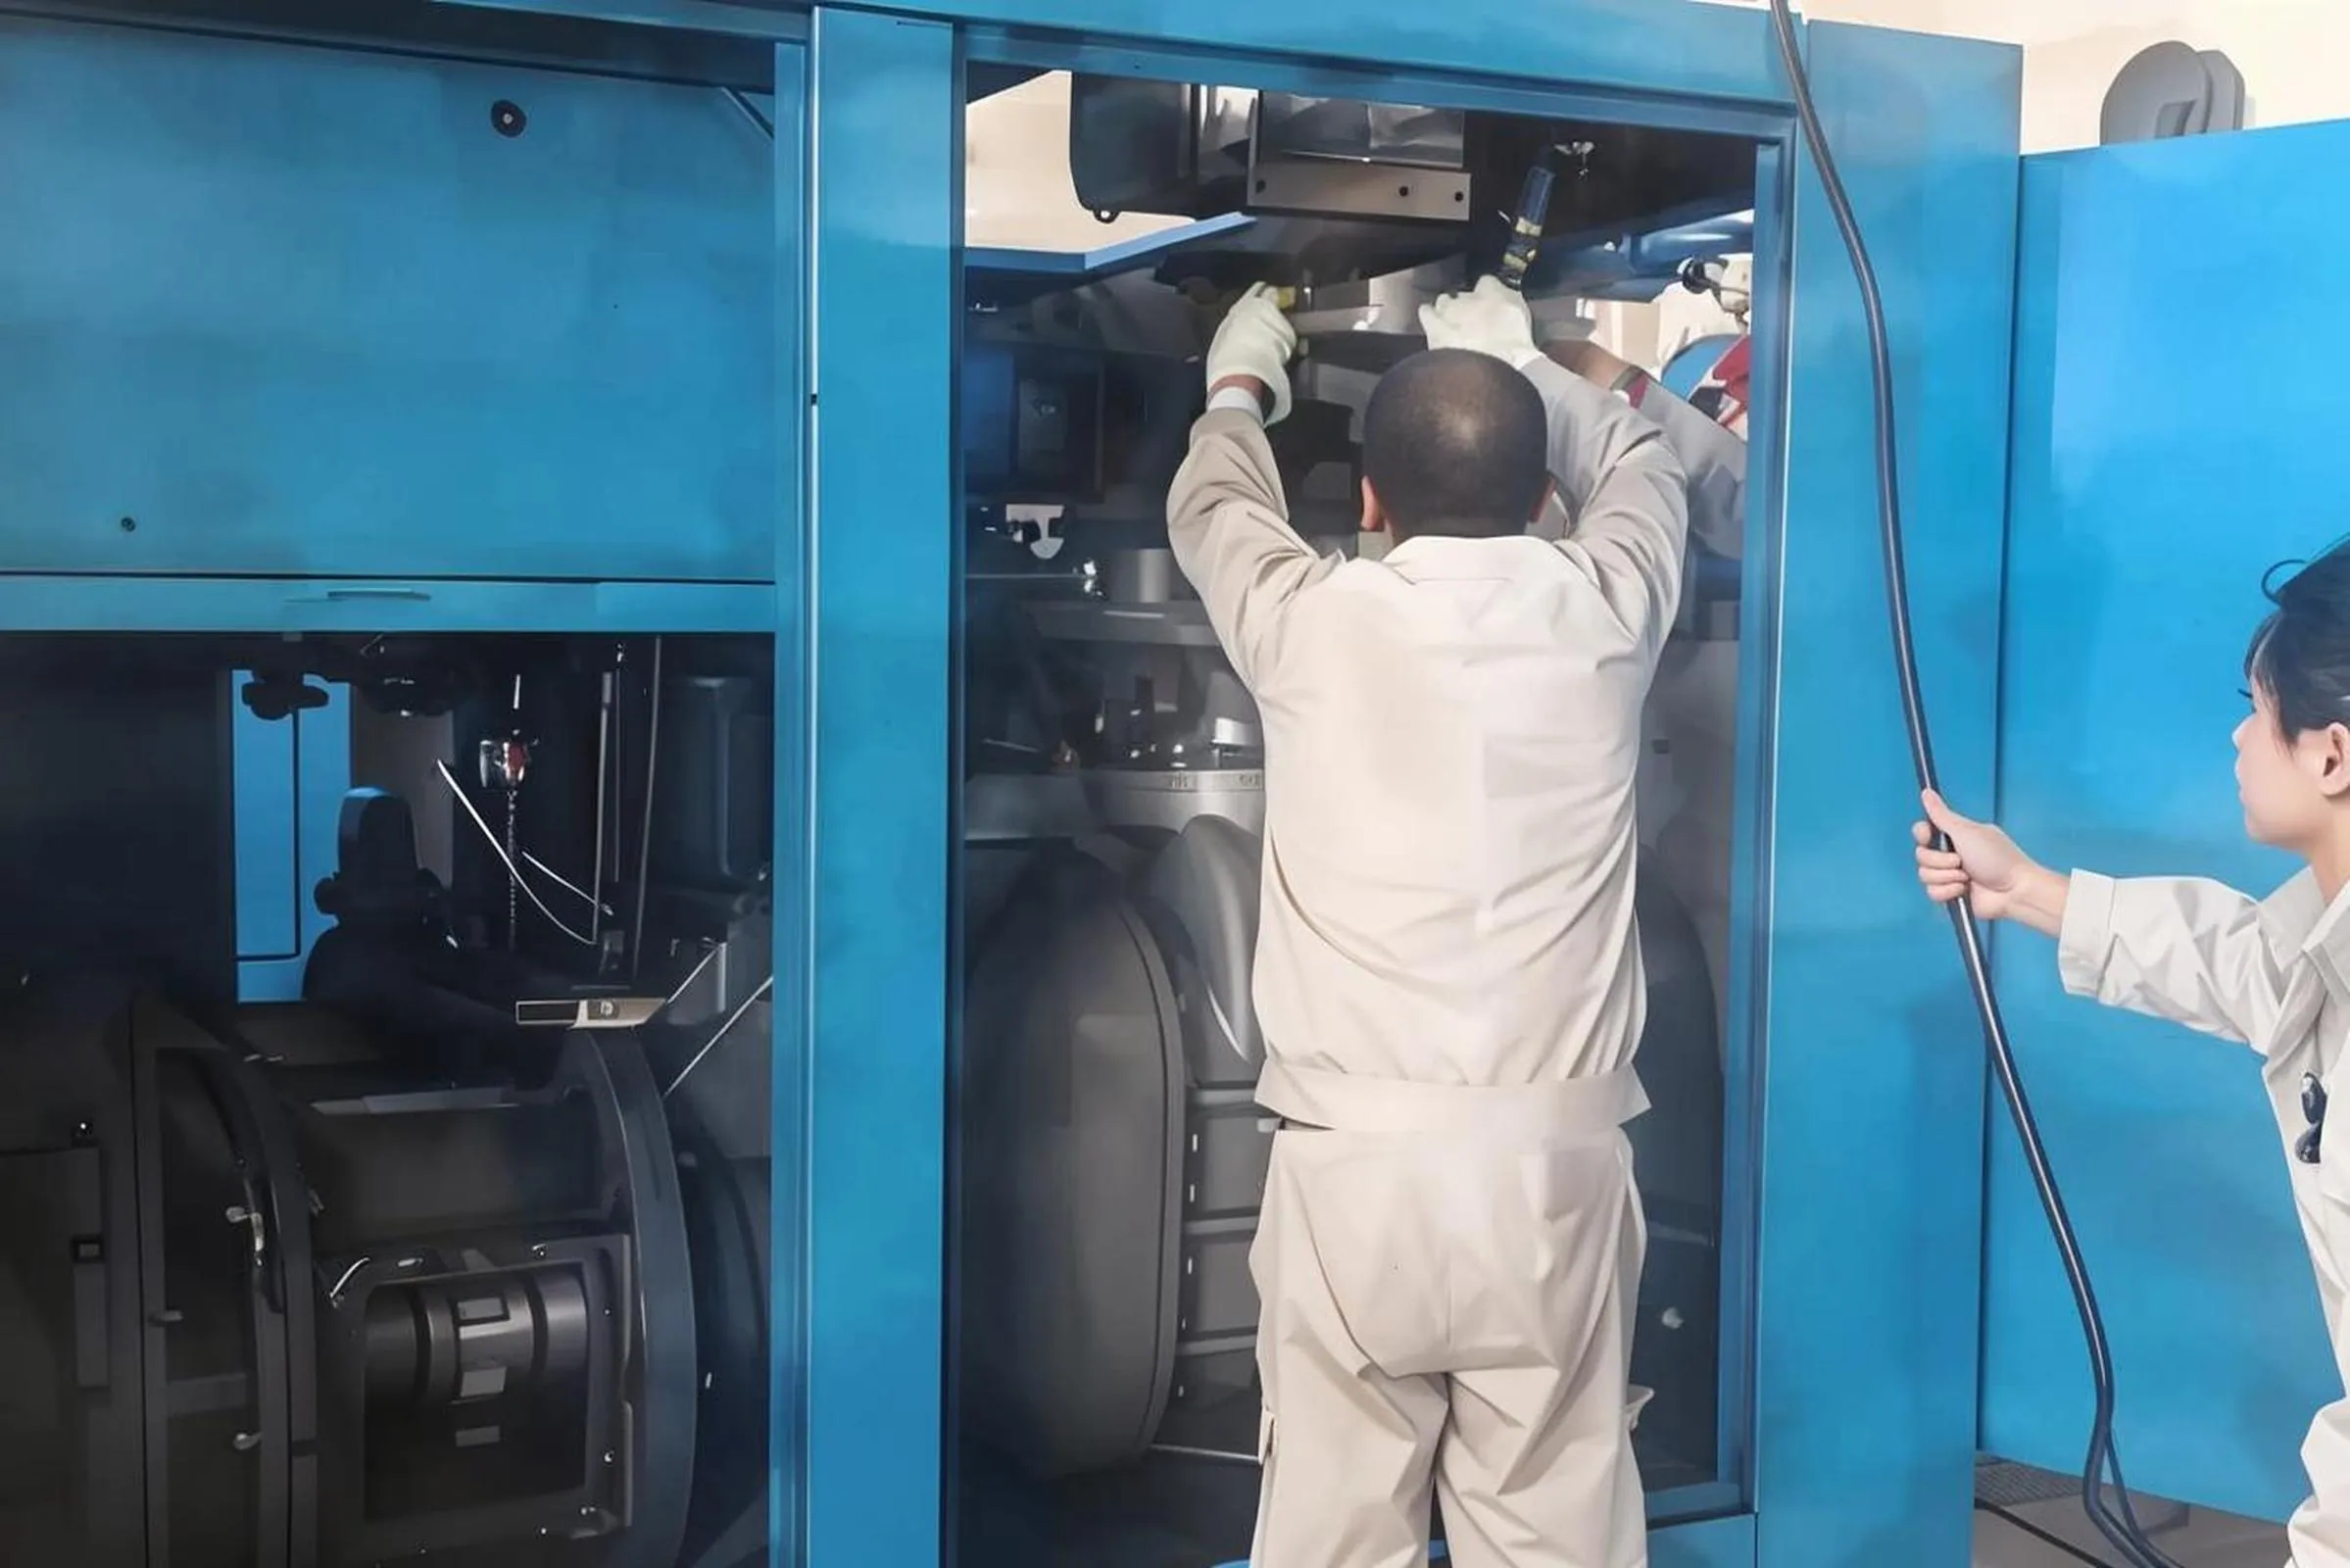
Gather the necessary tools and materials, including a wrench, pliers, and a bucket or drain pan. Identify the location of the air compressor cooler and the connections that need to be disconnected.
Step-by-Step Removal Process
1. Drain the Cooler
Locate the drain valve on the bottom of the cooler and open it using a wrench or drain plug wrench. Allow the condensate to drain completely into a bucket or drain pan.
2. Disconnect the Hoses
Use a wrench to disconnect the hoses connected to the cooler. Cap or plug the hose connections to prevent the entry of debris.
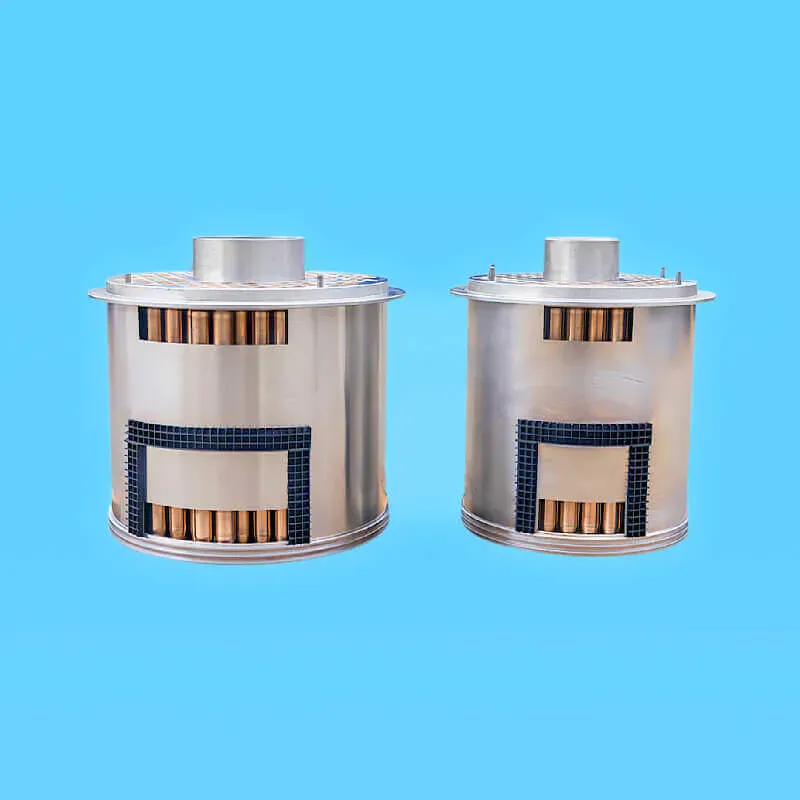
3. Disconnect the Cooler
Locate the mounting bolts or brackets that secure the cooler to the air compressor. Use a wrench to loosen the bolts or remove the brackets. Carefully lift the cooler away from the air compressor.
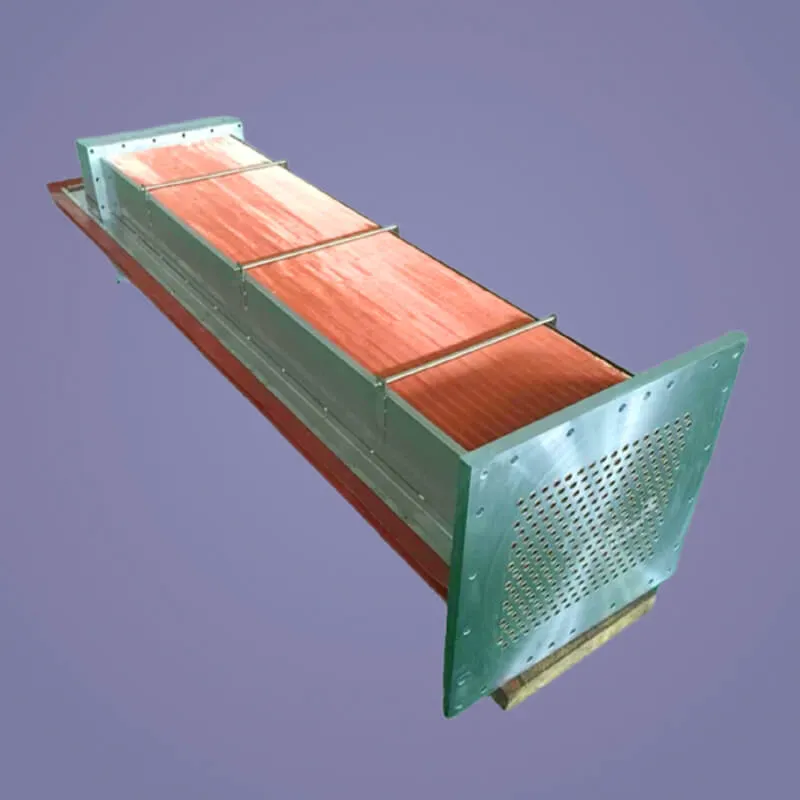
Inspection and Cleaning
4. Inspect the Cooler
Inspect the cooler for any damage, leaks, or corrosion. If any issues are identified, it is recommended to replace the cooler.
5. Clean the Cooler
Use a mild cleaner and a soft brush to clean the exterior surfaces of the cooler. Allow the cooler to dry completely before reinstalling it.
Reinstallation Process
6. Reinstall the Cooler
Align the cooler with the mounting bolts or brackets on the air compressor. Tighten the bolts or brackets securely using a wrench.
7. Reconnect the Hoses
Connect the hoses to the cooler and tighten them using a wrench.
8. Fill the Cooler
If the cooler has been drained, fill it with clean water or coolant to the specified level.
9. Check for Leaks
Start the air compressor and check for any leaks at the hose connections or around the cooler. If leaks are identified, tighten the connections or replace the cooler.
Conclusion
Proper maintenance of your air compressor cooler is crucial for the efficient operation of your air compressor. By following this step-by-step guide, you can safely remove, inspect, clean, and reinstall your cooler, ensuring its longevity and optimal performance.