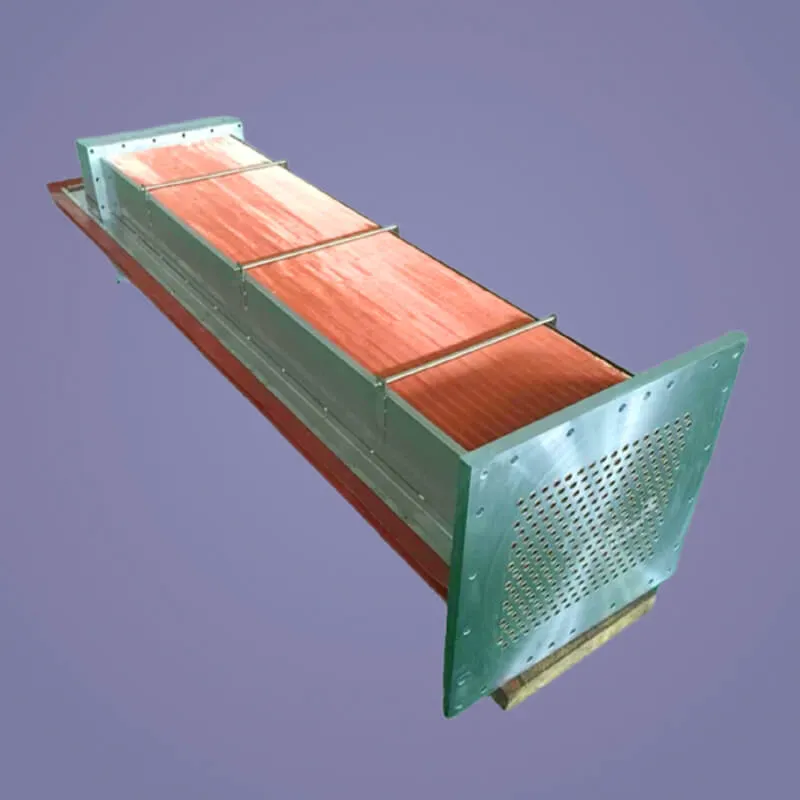
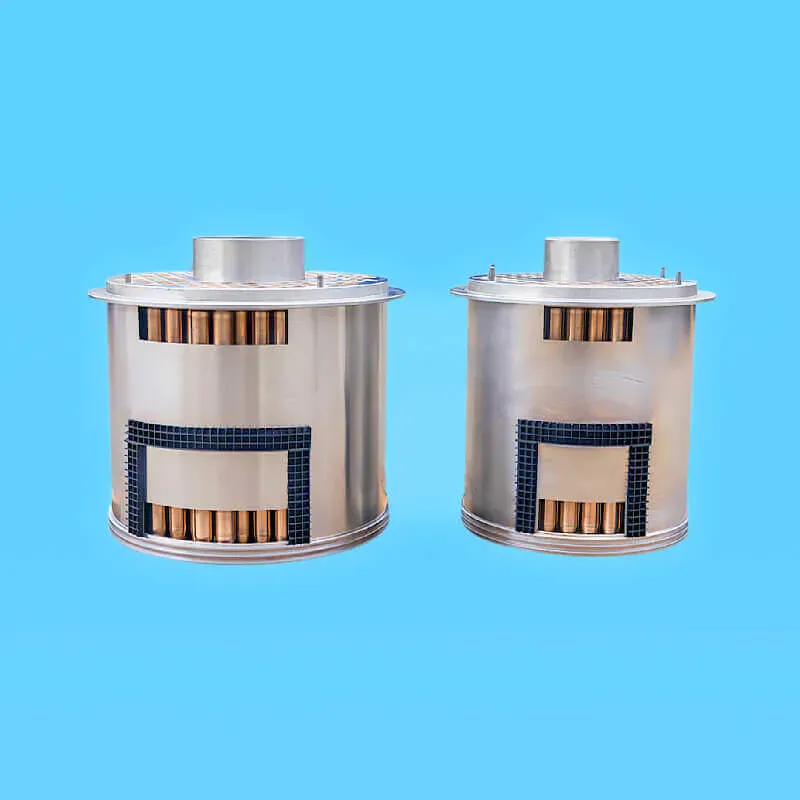
Step-by-Step Guide to Cleaning the Air Compressor Cooler
Proper maintenance of the air compressor cooler is essential for ensuring efficient operation and longevity of the equipment. Follow these steps to clean the cooler safely and effectively.
1. Power Off and Close the Main Valve
Before starting, ensure the air compressor is powered off and the main valve is closed to prevent any accidents.
2. Open the Drain Valve
Open the drain valve of the air compressor to release any remaining water or pressure in the system.
3. Open the Oil Drain Valve and Drain the Oil
Open the oil drain valve of the cooler to empty the oil. Note: Ensure the oil is completely drained before proceeding to avoid spills during the disassembly process.
4. Disconnect the Cooler Bolts and Pipes
Carefully disconnect the bolts and pipes connected to the cooler to prepare it for removal.
5. Remove the Cooler
Once the pipes and bolts are disconnected, remove the cooler from the air compressor system.
6. Clean the Cooler Fins
Follow these steps to clean the cooler fins thoroughly:
- Rinse with Water: Use clean water to rinse off any loose dirt or debris.
- Apply Aluminum Cleaner: Use a specialized aluminum cleaner to remove stubborn deposits.
- Rinse Again: Rinse the cooler thoroughly with water to remove any residue from the cleaner.
Tools Required: Aluminum cleaner, high-pressure water pump.
7. Reinstall the Cooler and Secure the Oil Pipes
After cleaning, reinstall the cooler and securely reconnect the oil pipes.
8. Refill the Oil
Refill the oil to the recommended level to ensure proper lubrication of the system.
9. Inspect and Test the System
Check all components to ensure they are properly fixed and secured. Power on the air compressor and test its operation to confirm everything is functioning correctly.